Snow Groomers are Always in Season
Groom World Class Trails with a Tidd Tech G2
Shop Tidd Tech Products
Since 1986, Tidd Tech has been making snow groomers for trail grooming. You could say that snow grooming has become an art to us.
Groomer FAQs
Have questions about our snow groomers or for our team? Our FAQ is filled with information on helping professionals find the answers they need.
Setting Tracks
Next time you set tracks for that “classic only” race course, or if you would just like to try something fun on a section of trail, try setting a best line course.
Resource Center
Our Resource Center is filled with information on helping professional Snow Groomers find the information they need to be successful.
See the implements that will take your snow grooming to the next level.
See our line of products that make snow grooming easier and setting track an art.
From our classic G2 Snow Groomers to the Snow Roller and Trail Tenderizers, our line of snow grooming products can help you set a better track for cross-country skiers, snowshoers, fat bikers, and backcountry enthusiasts. See our full line of snow grooming products.
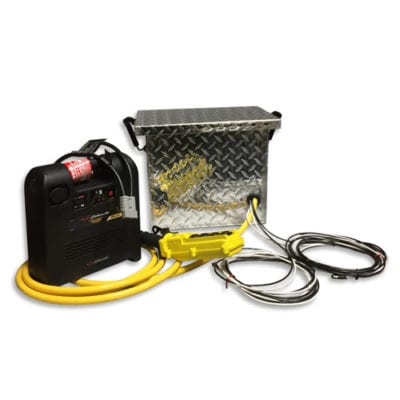
G2 Wiring Kit – 3 Circuit
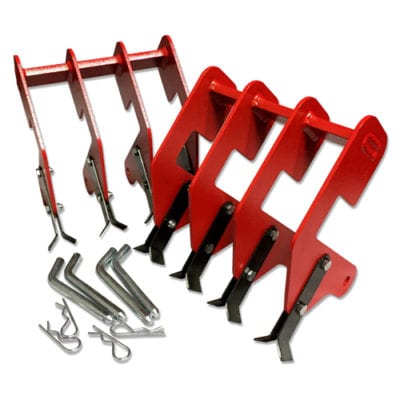
Track Renovator
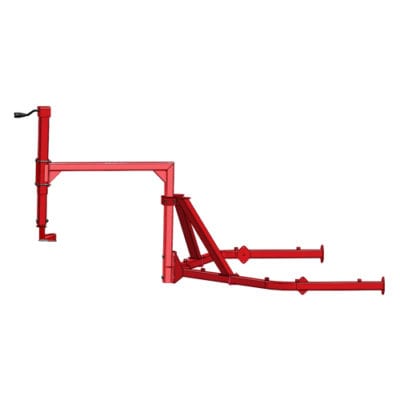
G2 Gooseneck Hitch
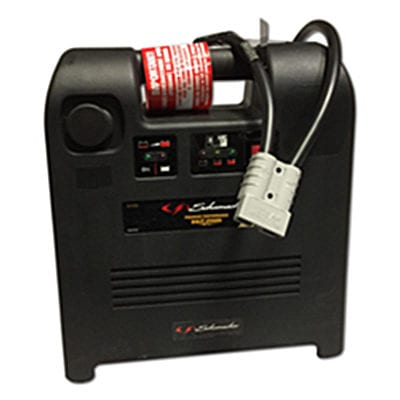
G2 Replacement Battery

Once our groomers got the hang of using the G2, they were amazed at how well it renovated the trails!
![]()
Bearskin Lodge
Want to Know More About Snow Grooming?
How To Set Tracks
A simple system that allows a groomer to produce a uniform and satisfactory experience for the winter recreational trail user based on the measurement of the snow density of the trail surface.
Grooming a Ski Park
A simple system that allows a groomer to produce a uniform and satisfactory experience for the winter recreational trail user based on the measurement of the snow density of the trail surface.
Snowmobile Cooling Modification Project
A simple system that allows a groomer to produce a uniform and satisfactory experience for the winter recreational trail user based on the measurement of the snow density of the trail surface.
This season, cross country skiers will find improved conditions thanks to Tidd Tech, the finest snow grooming equipment.
![]()
Shanty Creek
